
- Requesting Quick Access Reports – Plan Sponsor Account Manager, Authorized Representative, and Designees
- Viewing Quick Access Reports - Plan Sponsor Account Manager, Authorized Representative, and Designees
- Suspending Quick Access Report Delivery - Plan Sponsor Account Manager, Authorized Representative, and Designees
- Quick Access Reports - Vendor Composite Report Recipients
- Assigning Vendor Composite Report Recipient Role
- Requesting Quick Access Report Delivery - Vendor Composite Report Recipients
- Ordering Quick Access Reports - Vendor Composite Report Recipients
- Exclude Plan Sponsor Information from a Vendor Composite Report Recipient
- Include or Exclude Plan Sponsor Information for a Vendor Composite Report Recipient
Requesting Quick Access Reports – Plan Sponsor Account Manager, Authorized Representative, and Designees
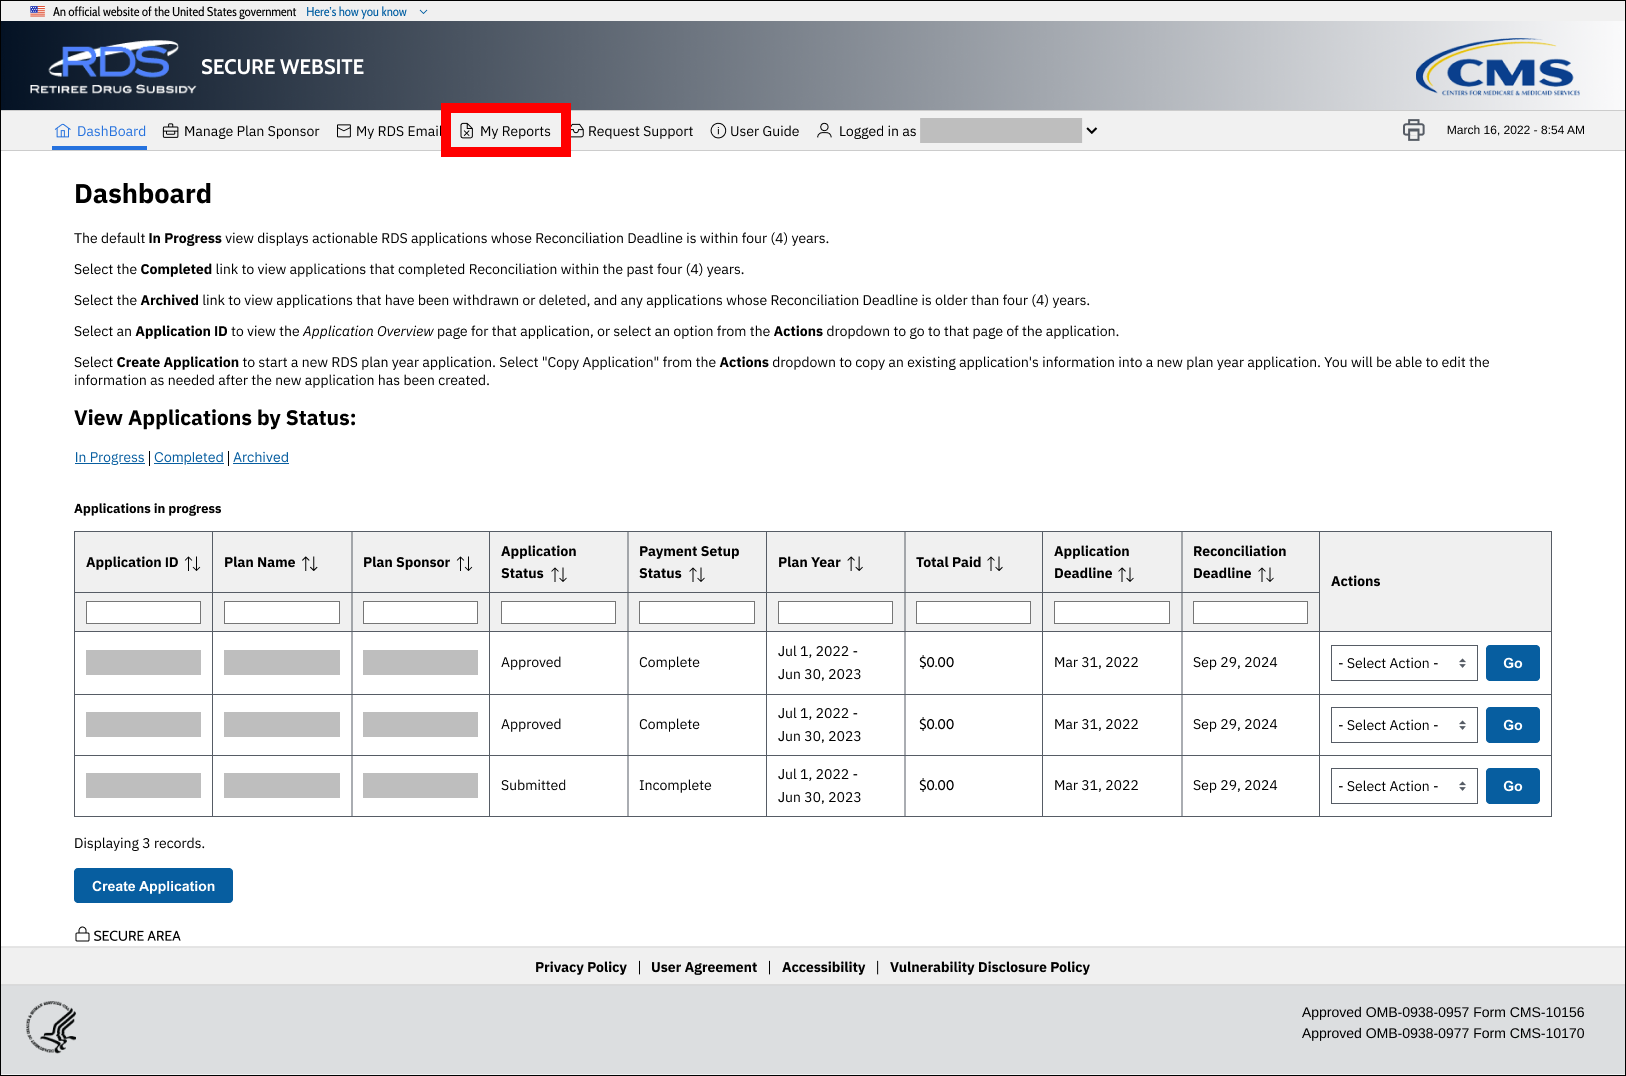
On the Dashboard page:
-
Select My Reports.
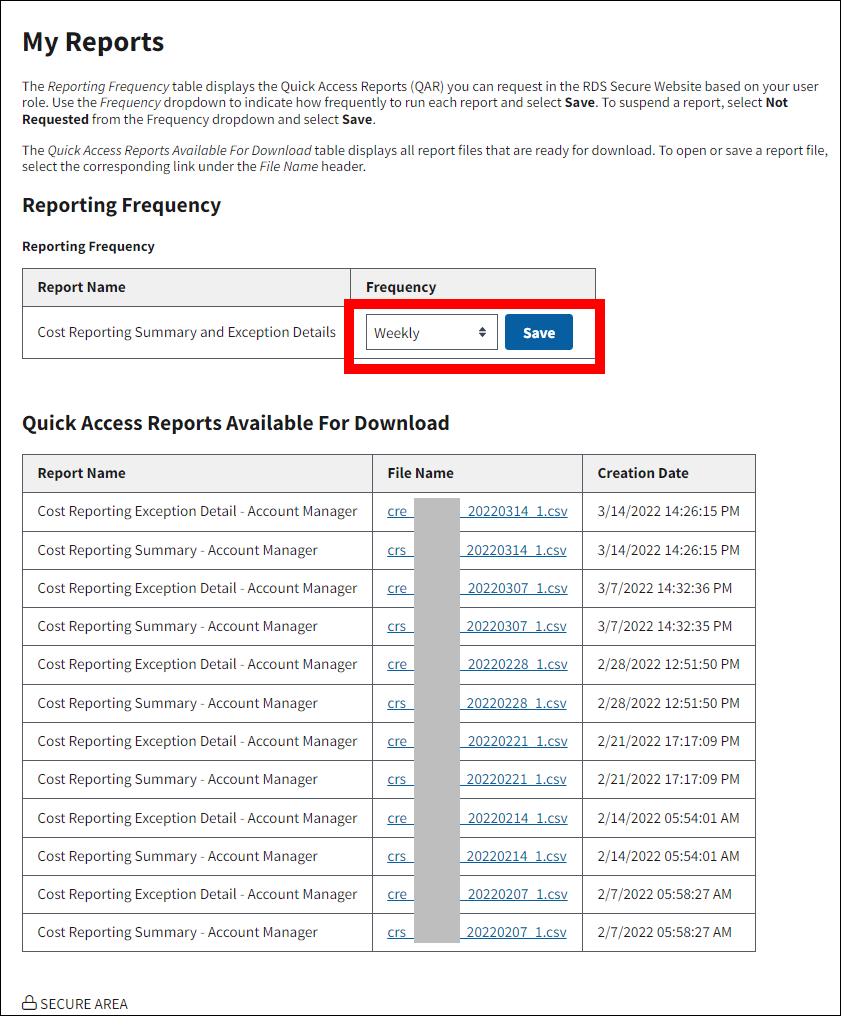
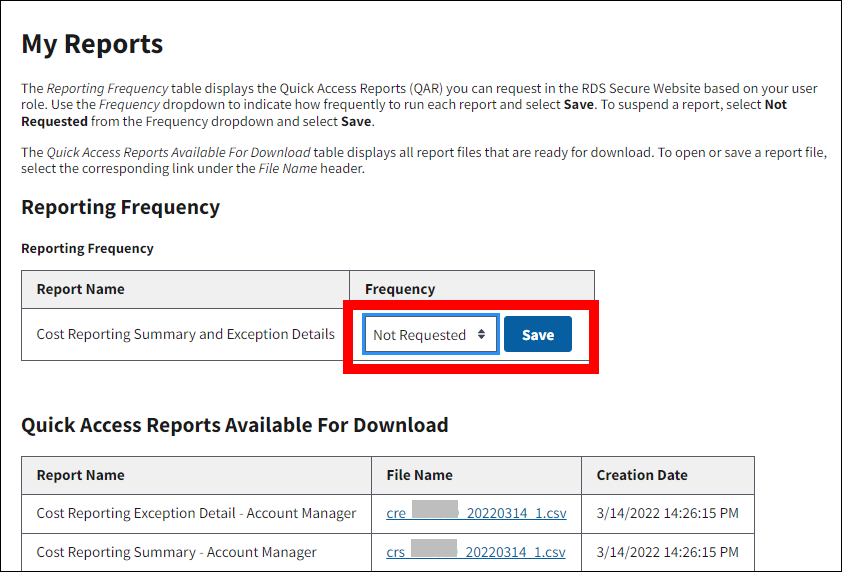
On the My Reports page:
-
Select Daily, Weekly, or Monthly from the Frequency dropdown to indicate how frequently to run the reports and select Save.
-
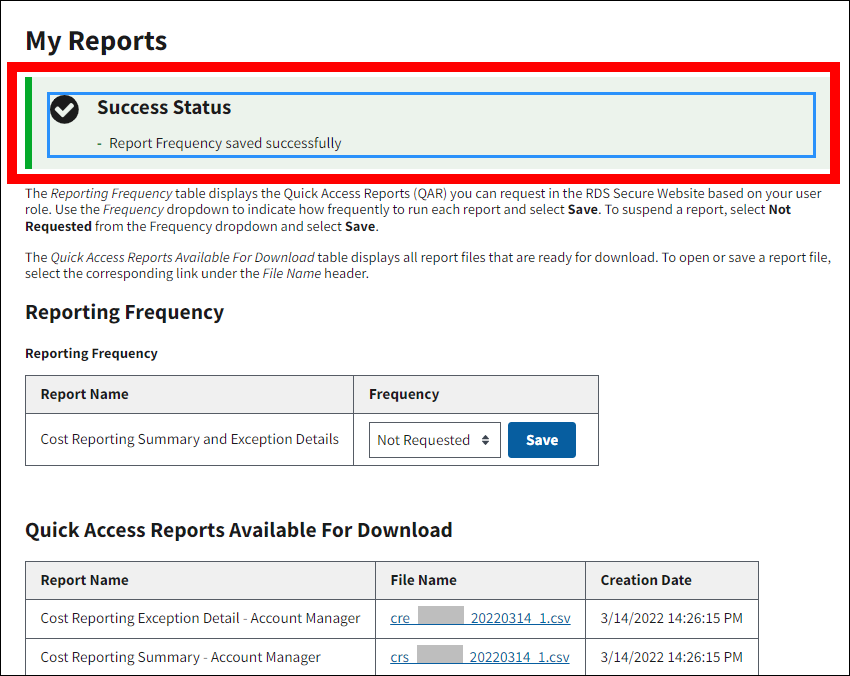
A Success message displays indicating that the Report Frequency saved successfully. If you changed the Reporting Frequency, the new frequency displays. Report generation depends on the frequency selected during setup. For example, if the Daily frequency is selected, reports are available the next weekday and then on each weekday thereafter.

Viewing Quick Access Reports – Plan Sponsor Account Manager, Authorized Representative, and Designees
On the Dashboard page:
-
Select My Reports.

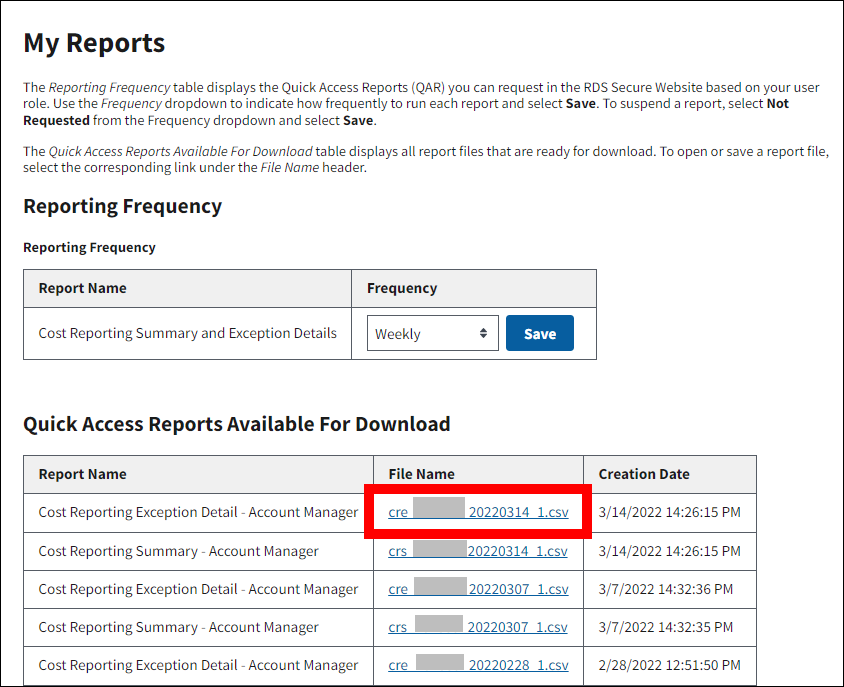
On the My Reports page:
-
All available reports display in the Quick Access Reports Available For Download table. To open or save a report, select the corresponding link under the File Name header.
Suspending Quick Access Report Delivery - Plan Sponsor Account Manager, Authorized Representative, and Designees
On the Dashboard page:
-
Select My Reports.
On the My Reports page:
-
Select Not Requested from the Frequency dropdown to suspend the delivery of a report and select Save.
-
A Success message displays indicating that the Report Frequency saved successfully. If you suspended the delivery of a report, it now displays as “Not Requested” in the Reporting Frequency table.
Quick Access Reports - Vendor Composite Report Recipients
Assigning Vendor Composite Report Recipient Role
To begin receiving Quick Access Reports (QAR), the Vendor must first specify one individual who has a current and active RDS Secure Website account to be the Vendor Composite Report Recipient. The Vendor Composite Report Recipient has access to cost reporting information associated with the Vendor ID regardless of whether the individual is assigned to the Application. This includes select Application data, such as retiree counts and totals paid to date.
Requesting Quick Access Report Delivery – Vendor Composite Report Recipients
To request Quick Access Report (QAR) delivery, the Vendor must contact CMS' RDS Center and identify the individual with a current and active RDS Secure Website account who will be the Vendor Composite Report Recipient. The Vendor must provide the Vendor ID and the Vendor Composite Report Recipient’s Name and Email Address.
Confirmation Email
After the Vendor Composite Report Recipient has been successfully processed and assigned reporting access, the recipient receives a system-generated email message.
Ordering Quick Access Reports – Vendor Composite Report Recipients
After the Vendor Composite Report Recipient Assignment email has been received, Vendor Composite Report Recipients are able to request and access Quick Access Reports (QAR) using the same method as Account Managers, Authorized Representatives, and Designees. For step-by-step instructions, go to: Requesting Quick Access Reports – Plan Sponsor Account Manager, Authorized Representative, and Designees.
Exclude Plan Sponsor Information from a Vendor Composite Report Recipient
A Plan Sponsor may also choose to exclude a Vendor Composite Report Recipient from receiving any Application information that was not supplied by the Vendor.
The Account Manager is the only RDS Secure Website user with the authority to agree to share information with the Vendor Composite Report Recipient.
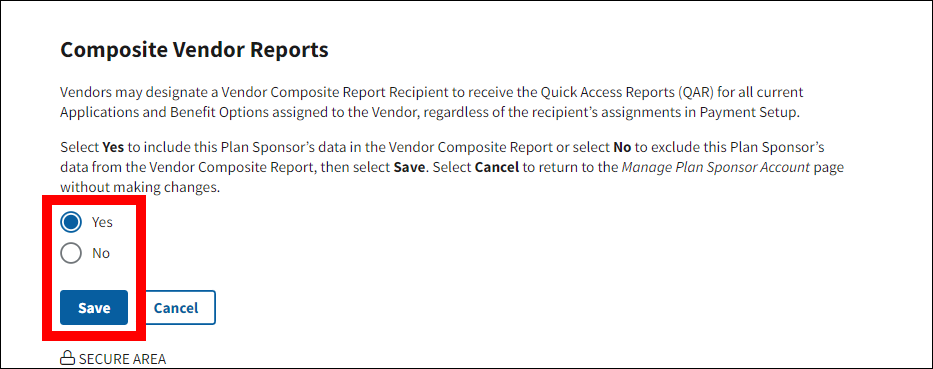
Include or Exclude Plan Sponsor Information for a Vendor Composite Report Recipient
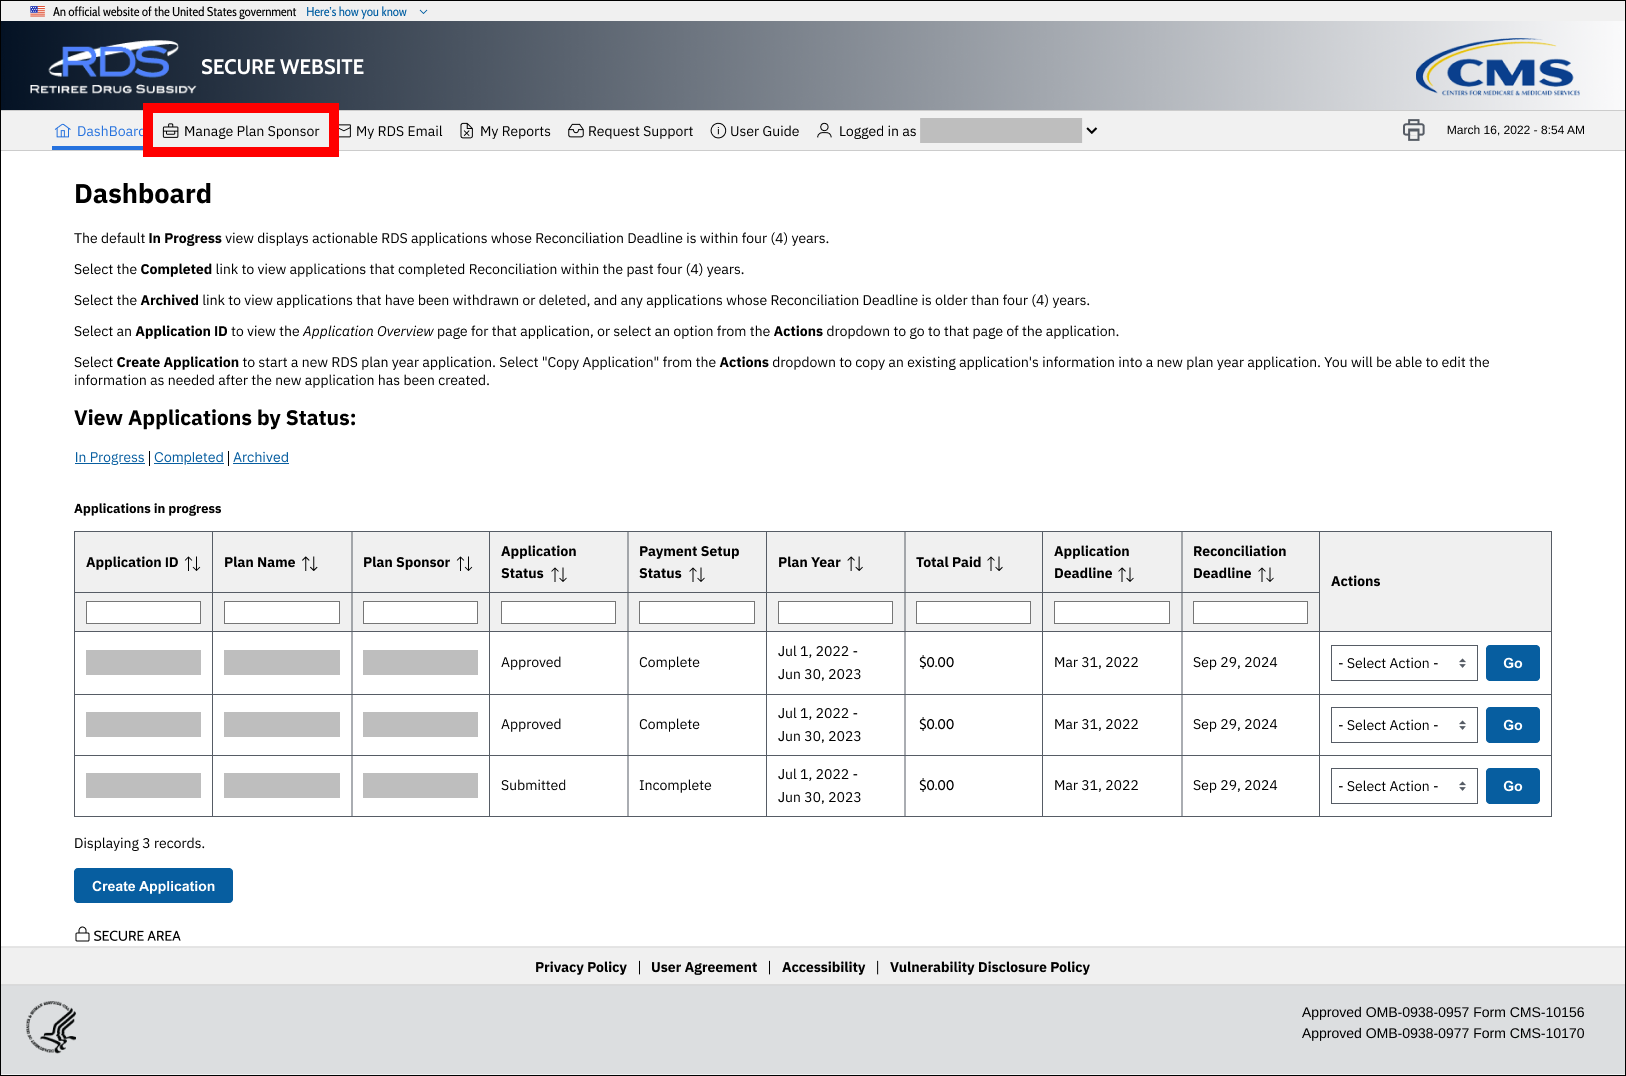
On the Dashboard page:
-
Select Manage Plan Sponsor.
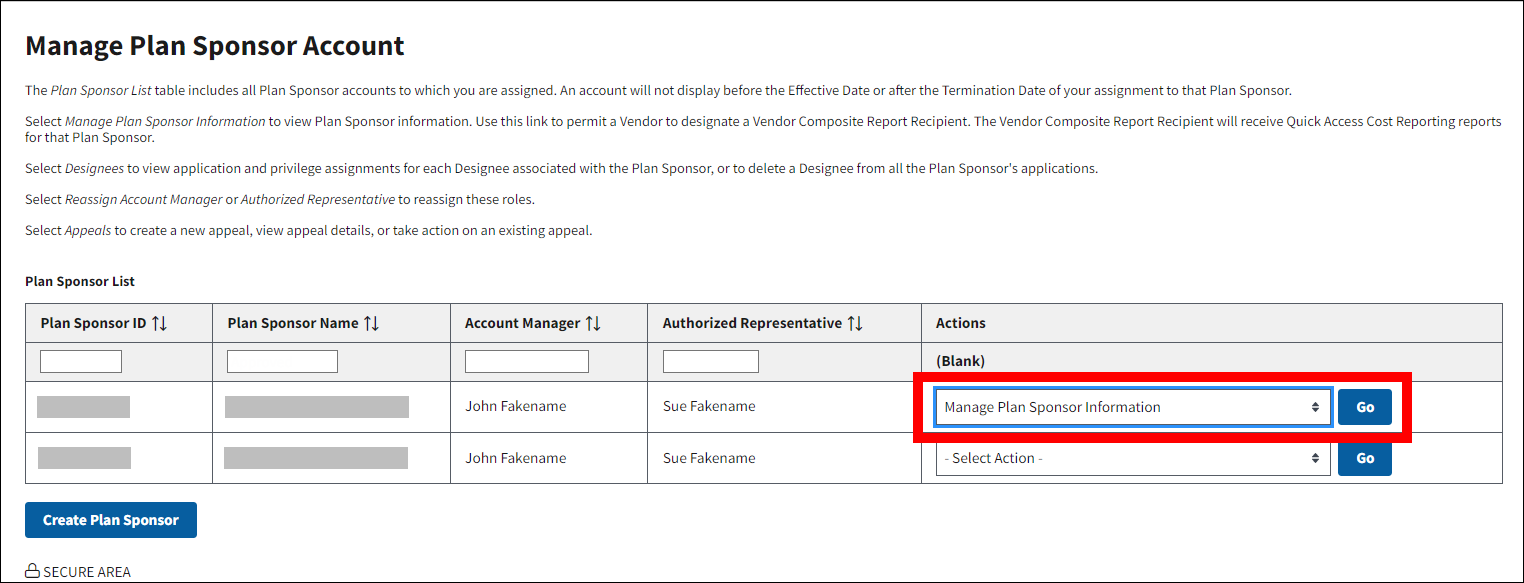
On the Manage Plan Sponsor Account page:
-
Select Manage Plan Sponsor Information from the Actions dropdown and select Go.
On the Manage Plan Sponsor Information page:
- In the Composite Vendor Reports section, select Yes to include the Plan Sponsor’s data or select No to exclude the Plan Sponsor’s data.
-
Select Save to proceed or select Cancel to return to the Manage Plan Sponsor Account page.
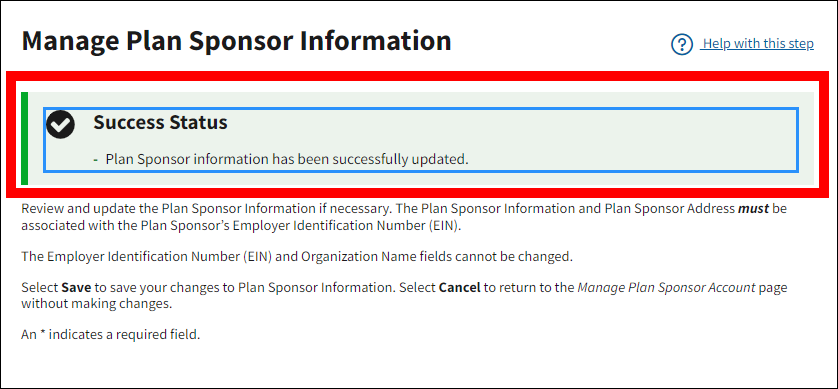
-
A Success message displays indicating that the Plan Sponsor information has been successfully updated.